Running a Live Optics capture on Windows Server Operating Systems
Running a standard Live Optics
This section explains how to run a standard Live Optics which allows a collection of up to 7 Days.
LiveOptics was previously named DPACK, it has since changed and has now become LiveOptics.
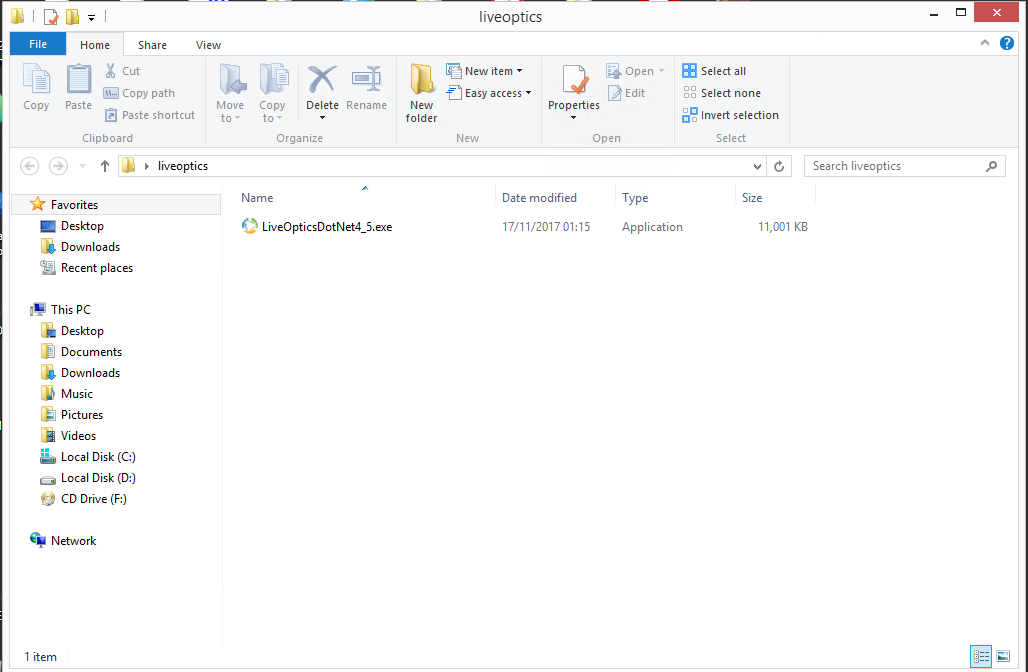
- First create a folder and put the
LiveOpticsDotNet4_5.exein as it will create quite a few files when first started:
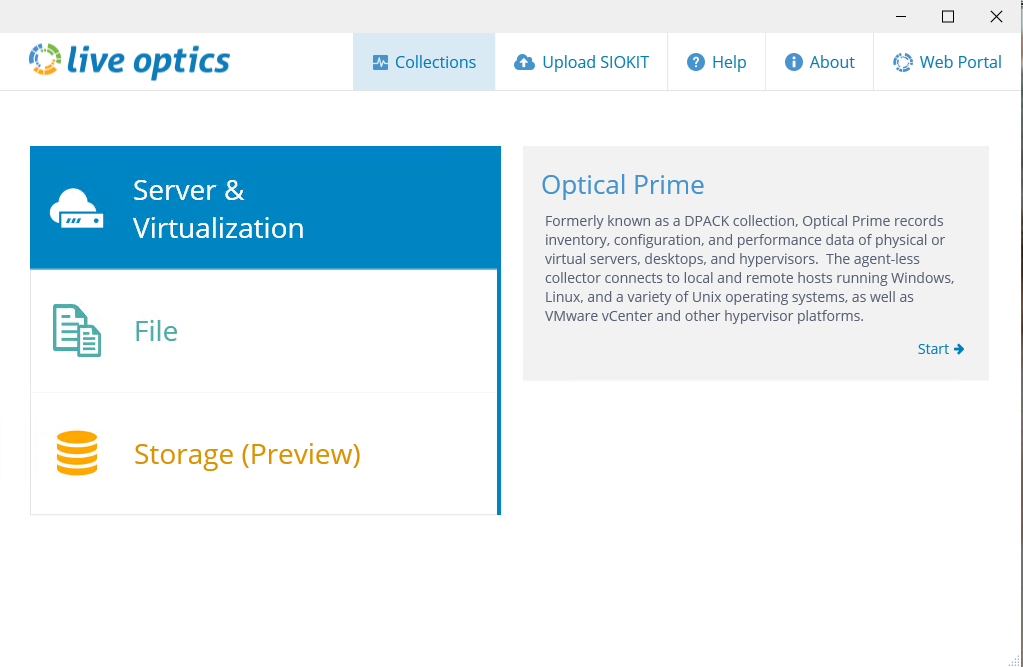
- Select
Server & Virtualizationand then click on theOptical Primewindow to the next pop-up to allow the Live Optics program to start:
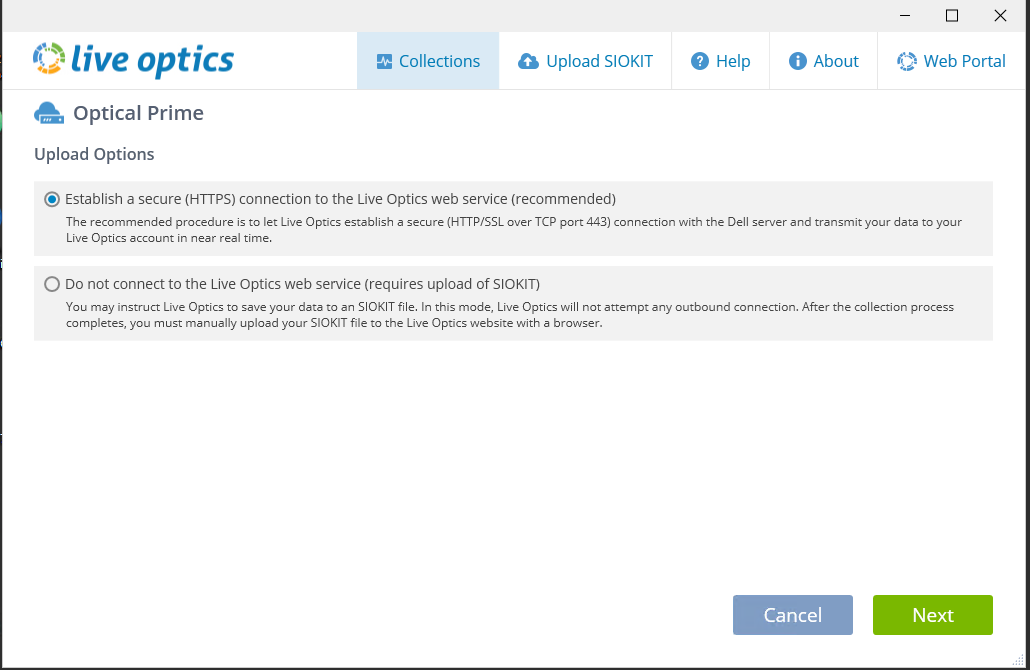
- ANS suggests you keep the
Live Optics Data OptionstoEstablish a secure (HTTPS) Connection to the Live Optics Web Service, as with this option the server metrics are streamed to our Live Optics portal at ANS, and it allows for easier analysis:
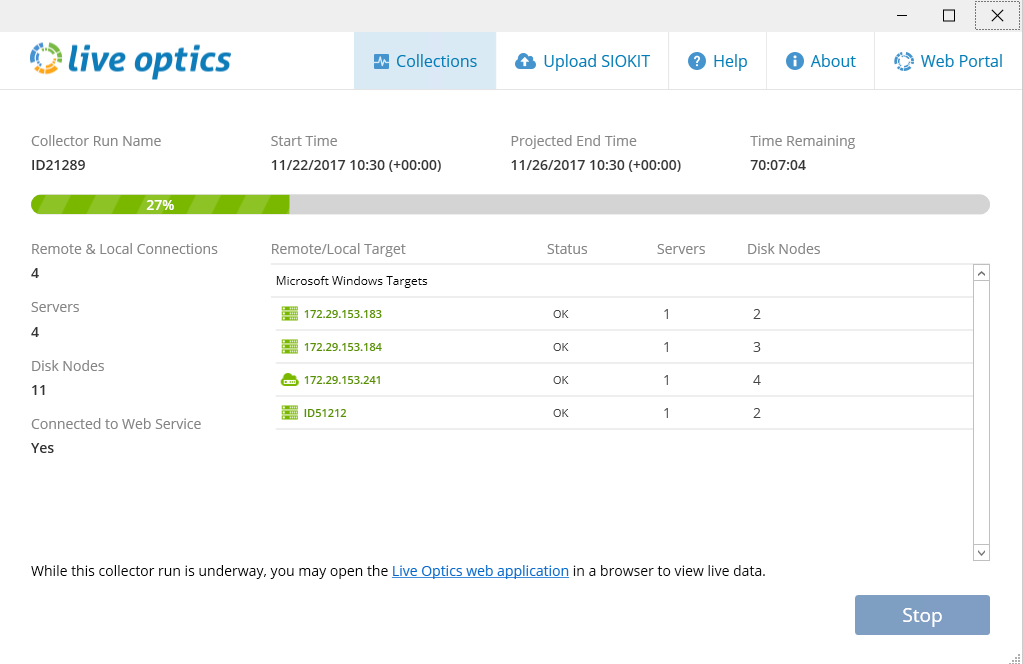
- You should now be presented with the main Live Optics Collection Screen:
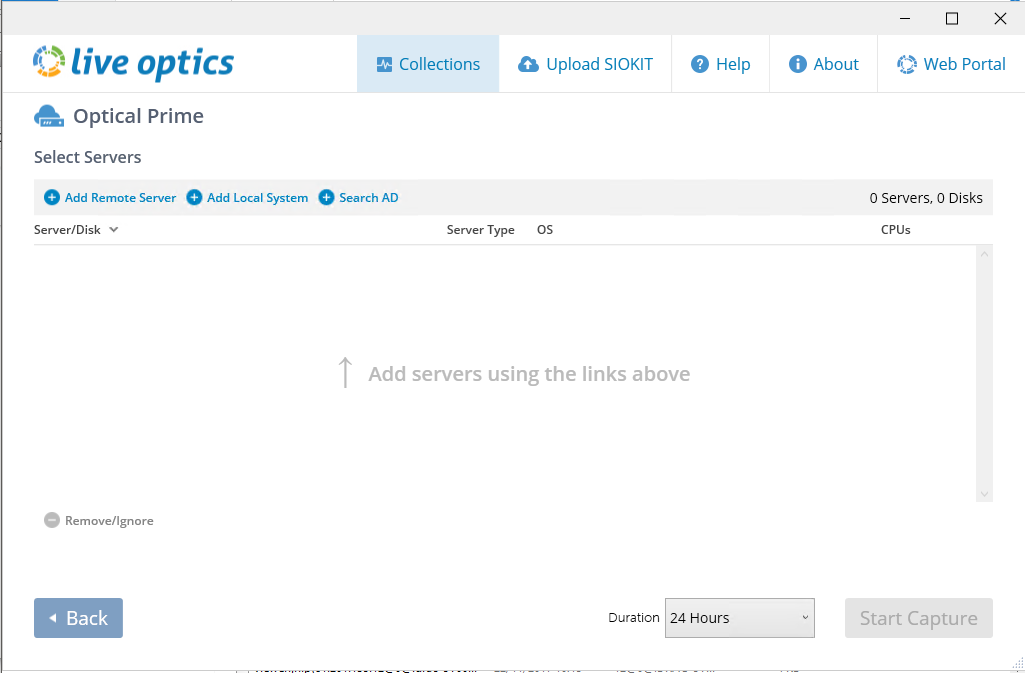
- If you are going to take a collection of the local machine, select the
Add Local Systembutton on the portal:
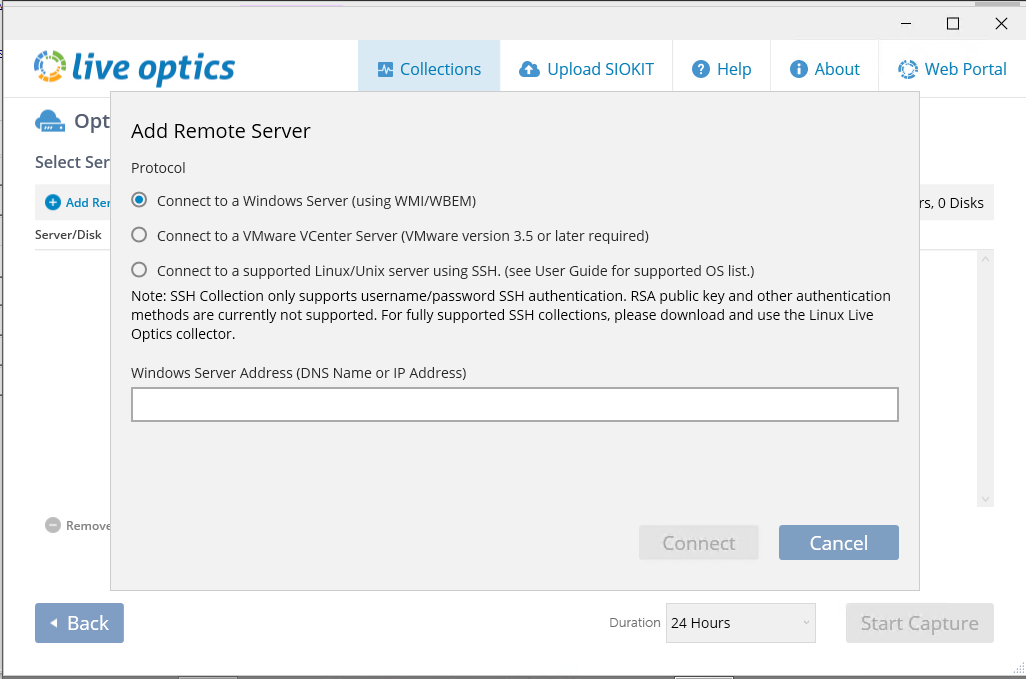
- If you are going to take a collection of a remote machine, select the
Add Remote Systembutton on the portal. You will then be shown the screen below which will allow you to remotely take a collection by supplying theIP,usernameandpasswordof the remote server.
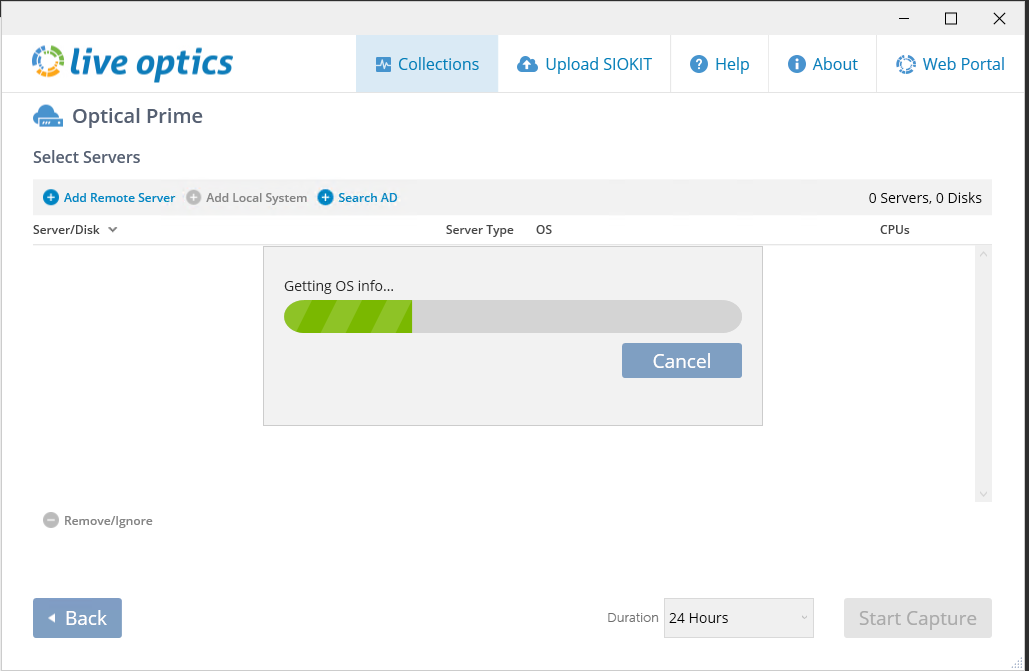
- Once all the servers have been added, you can now select the
Start Capturebutton and the collection will begin: