Running a DPACK on a Linux Operating System
Running a standard DPACK
This section explains how to run a standard DPACK which allows a collection of up to 24-hrs.
- First create a folder and transfer the DPACK
tarfile using an SFTP client:
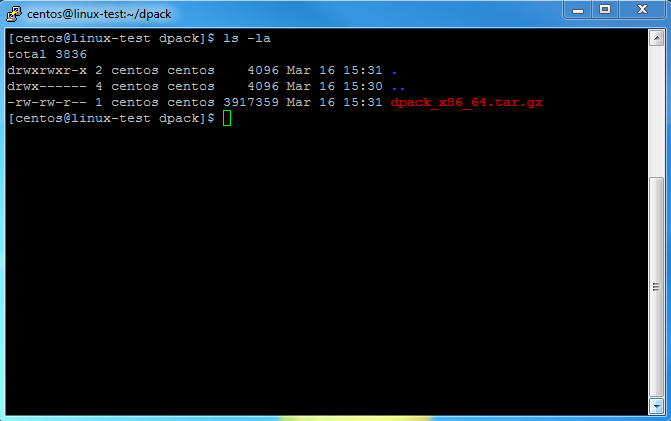
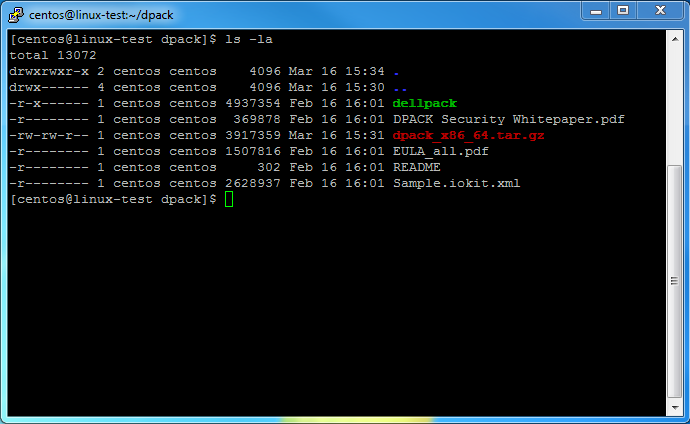
- The DPACK
tarfile now needs to be extracted by entering the following command:
tar -xvzf dpack_x86_64.tar.gz`
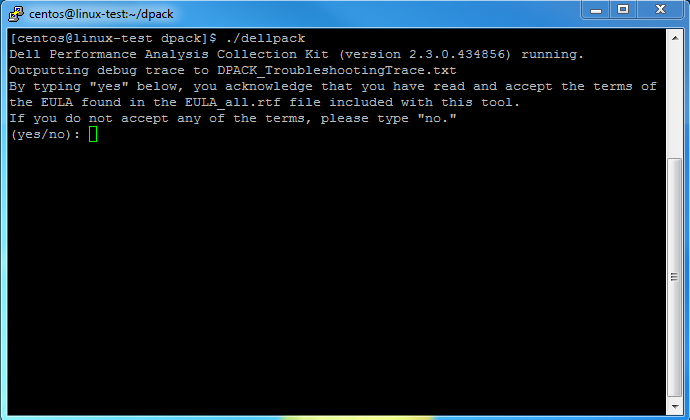
- Start the executable
dellpackand enteryesto the following prompt to allow the DPACK to run:
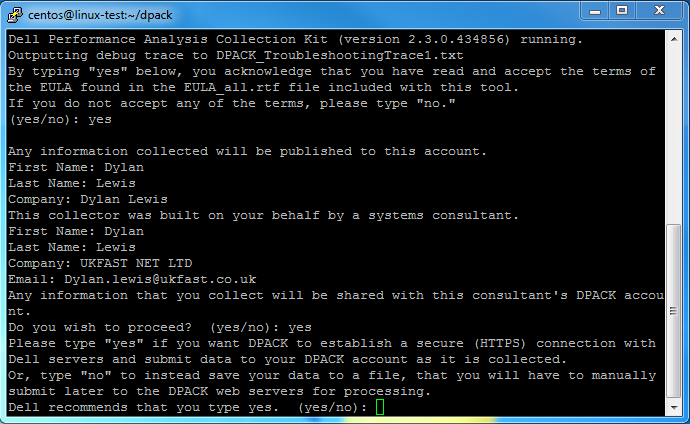
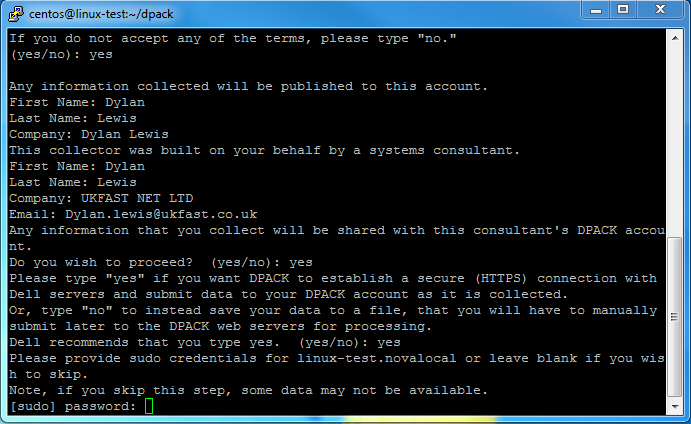
- Please check that your information is correct on the page below as this will be sent to the engineers at ANS. Enter
yeswhen ready:

- ANS suggests you enter
yesas the server metrics will then be streamed to our DPACK portal at ANS and allows for easier analysis:
- Please enter the
sudopassword for the local server so the DPACK can collect the relevant data:
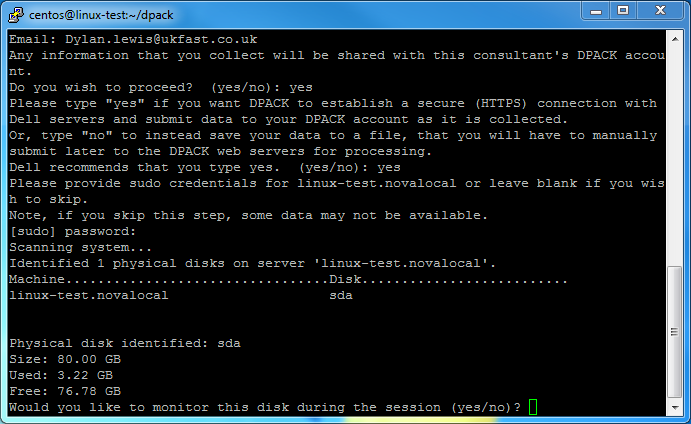
- The console will now display each disk detected on the server / VM. We suggests you enter
yesto all of them:
- You should now be displayed with the DPACK Collection screen. You can now select any option and follow the prompts:
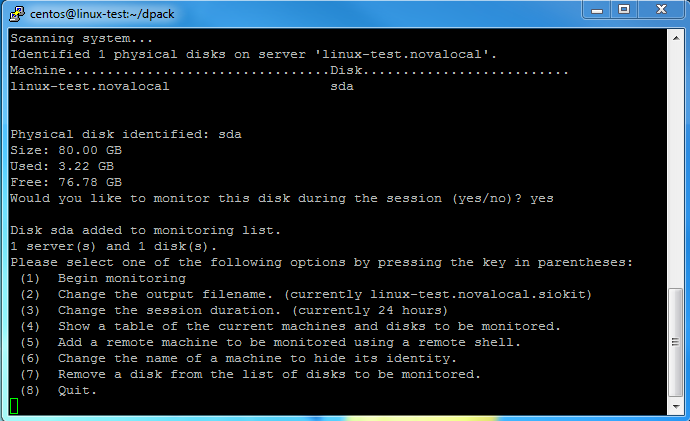
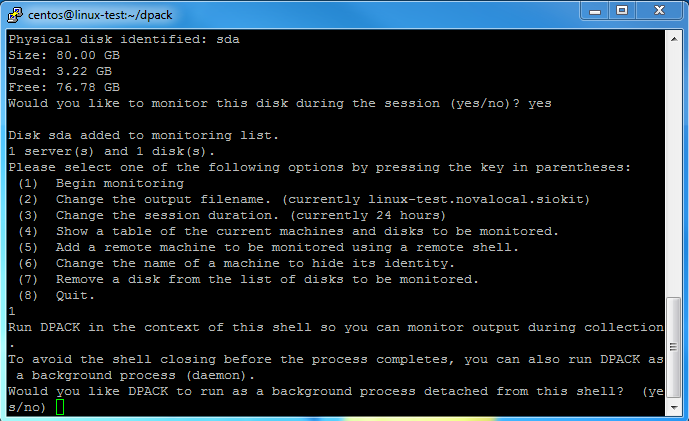
- Once you have added all servers, you can enter
1to begin the collection. You will then be asked if you want to run DPACK as a background process. Enteryes, so you can close your SSH connection. The collection will be streamed to the DPACK portal:
Running an extended DPACK:
note
This section explains how to run an extended DPACK which allows a collection of up to 7-days.
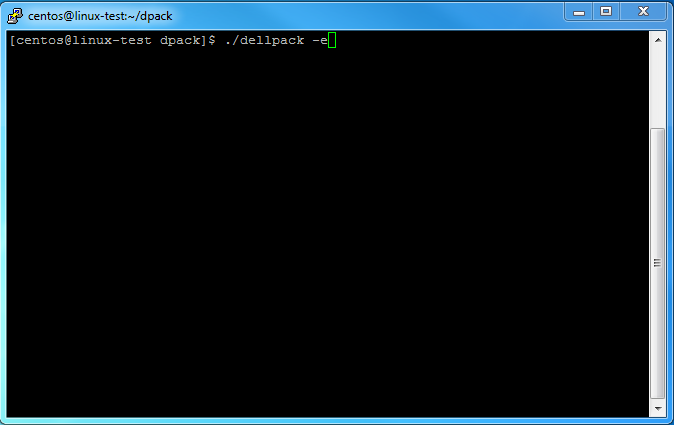
- When you are in the DPACK folder start the executable
dellpackwith the-eflag:
- Follow the instructions above until you reach the DPACK Collection screen. Enter
3to change the collection length in hours. 168 hours = 7-days.
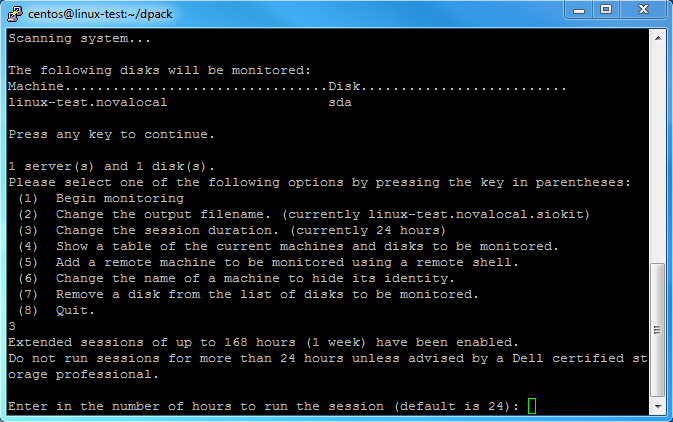
You are now able to run the DPACK for up to 7-days. Any problems, don't hesitate to contact ANS Support.