Upgrading your MySQL/MariaDB version
If you are not comfortable performing a MySQL/MariaDB upgrade, simply give the ANS Support Team a call, or raise a support ticket and we'll be happy to advise/help.
Overview
Upgrading your MySQL/MariaDB version can be a daunting task, but there are steps you can take to ensure you are covered for any eventuality.
Updating the database (or any) service relies on three key steps:
- Preparation
- Backups - Ensure you have a rollback option.
- Testing - Have a development pipeline to ensure you obtain the expected outcome.
- Maintenance- Disable monitoring during your work, and put your website into maintenance.
Both Plesk and cPanel allow you to upgrade your database service, but take different approaches to it. Plesk makes you do this outside of the control panel, whilst cPanel requires you to log into the panel and complete the upgrade there.
Here, we will run through how to perform both types of upgrades depending on your solution.
Before proceeding, please ensure that you have checked that your sites/services are compatible with the upgraded version of MySQL/MariaDB, and that you have backed up your databases.
Upgrading
Plesk supports versions 5.1 through to 5.7, but will drop support for older versions in due course. Therefore it is in your best interest to upgrade to 5.7 or equivalent.
Upgrading between MySQL versions can be straightforward, but you do have to upgrade incrementally.
In this example, we will upgrade from 5.1 to 5.5 to show you the first step in safely incrementing your MySQL version on a CentOS 7 server.
We would encourage you to put your website into maintenance mode to ensure database consistency and to prevent false alerts.
- First, dump out your MySQL databases (ensuring you have enough room first). Verify that the dump is of expected size before proceeding.
mkdir mysqldumps
mysqldump --events --triggers --all-databases > mysqldumps/all_databases.sql
- Install the MySQL Community Repo:
yum install https://dev.mysql.com/get/mysql80-community-release-el7-1.noarch.rpm
- Edit the newly installed repo to enable
MySQL 5.5and disableMySQL 8.0(in a text editor of your choice. Here we are usingvim):
vim /etc/yum.repos.d/mysql-community.repo

[mysql55-community]
name=MySQL 5.5 Community Server
baseurl=http://repo.mysql.com/yum/mysql-5.5-community/el/7/$basearch/
enabled=1

....
[mysql80-community]
name=MySQL 8.0 Community Server
baseurl=http://repo.mysql.com/yum/mysql-8.0-community/el/7/$basearch/
enabled=0
- Stop
MySQL:
systemctl stop mysqld
- Upgrade
MySQL:
yum upgrade mysql
- Start it up:
systemctl start mysqld
- Run
mysql_upgradeto bring the databases up to date:
mysql_upgrade
- Once happy, you can edit the yum repo file to disable 5.6, enable 5.7, dump your databases and follow the above steps again to upgrade to the next version.
Be sure to test your website functionality after each change.
Plesk have some additional documentation for upgrading MariaDB from 5.5 to 10.x at the following link:
cPanel
WHM does not offer a downgrade option, so any rollback would require a full server restore to revert this change.
- Log into WHM.
- In the search bar, search for
MySQL/MariaDB Upgrade.
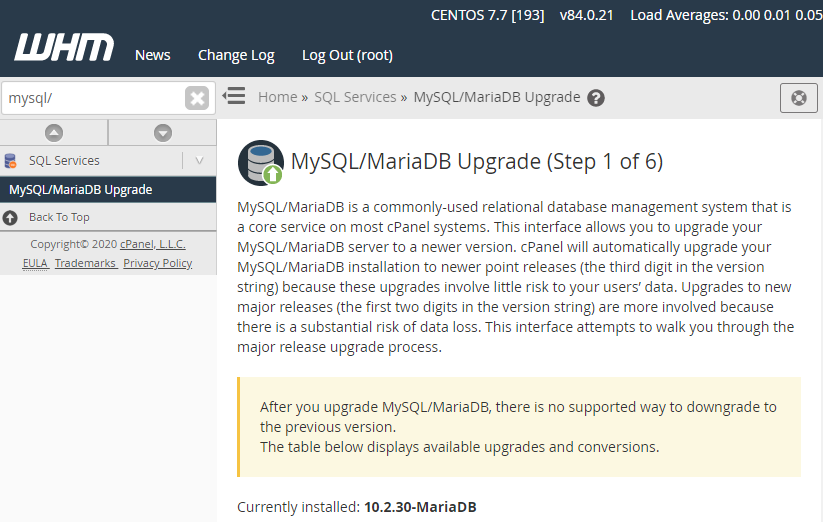
-
WHM will show the minimum version as being whatever is installed, and doesn't offer below 5.6 (soon to be 5.7). It also provides a brief description of any new features, along with the release date and end of life date.
-
Pick your desired version. In this example, we will be upgrading from
MariaDB 10.2toMariaDB 10.3, but if you are skipping versions, you will get a notification like the following
The selected MySQL version (5.7) is more than one generation newer than the currently installed version. The upgrade process will iterate over each intervening version to ensure tables are upgraded appropriately.
- There are two options for the type of upgrade:
Unattendedwill automatically upgrade the packages and runmysql_upgradepost-installation. This is the recommended option.Interactivewill prompt you every step of the way.
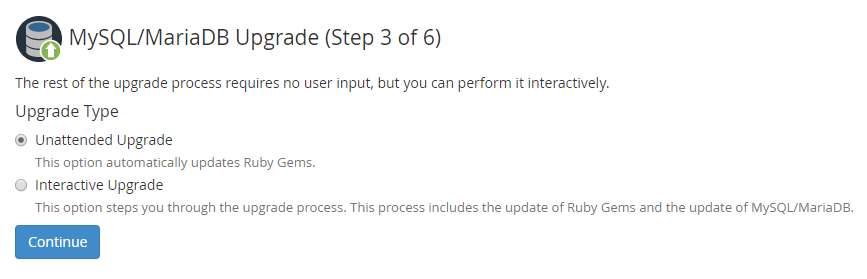
- Click
Continue, and the upgrade will complete automatically.
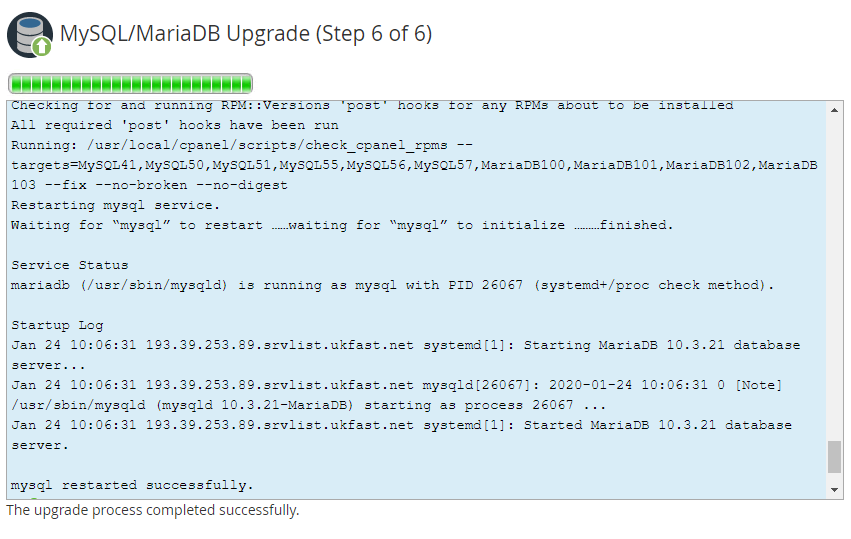
Be sure to test your website functionality after this change.